Melodyne is a very powerful tool for pitch correction and audio editing. It is used by Industry standard sound engineers, music producers worldwide to make their sound better. You recently got to know about the melodyne plugin and you want to use it for your pitch correction, but you know how to install melodyne in fl studio ? Don’t worry it’s an easy process just follow the article and you will figure out how to install it.
Table of Contents
Part 1: Understanding Melodyne
It is always better to know about the software before using it. That’s why you should know more about the melodyne features and capabilities before you know How to Install Melodyne in FL Studio. Melodyne is a digital audio editor made by Celemony that helps Producers to correct Off-key notes, Timing, and also it is used to rewrite/ recompose the melody.
Melodyne comes with a lot of features that make melodyne different and unique from other pitch correction plugins available in the market.
Part 2: How to Install Melodyne in FL Studio
The first step is to get the melodyne software. If you haven’t purchased the software, make sure to do it. Here is the process to get the Plugin.
Purchasing Melodyne:
- Go to Celemony’s website and navigate to the ‘Shop’ or ‘Products’ section.
- Select the version of Melodyne that suits your needs. If you’re unsure, the basic Melodyne Essential might be a good starting point.
- Complete the purchase process and create an account when prompted. This will help manage your software license and access downloads.
Downloading and Running the Installer:
- Once your purchase is complete, you’ll receive a download link. Click it to download the installer.
- When the download is finished, run the installer file. The installation process is simple.
- During installation, you’ll be asked to specify a VST plugins folder. Remember this location as you’ll need it later.
Ensure you keep your license key by your side—this is delivered via email or accessible through your Celemony account. You’ll need it to activate your software.
Part 3: VST Plugin Configuration in FL Studio
VST (Virtual Studio Technology) Plugins are the tools for music production which provide different musical instrument sounds, effects in a digital way in our DAW. So it is essential to know how to install melodyne/ other plugins in FL Studio.
Opening FL Studio Plugin Manager:
- Launch FL Studio.
- Access the ‘Options’ dropdown menu and select ‘Manage Plugins’. This opens the FL Studio Plugin Manager, which oversees all your available effects and instruments.
Adding Melodyne to FL Studio:
- In the Plugin Manager, check if FL Studio lists the folder where Melodyne is installed under ‘Plugin search paths’. If you’re unsure, go back and review the VST plugins folder you noted during Melodyne installation.
- If Melodyne’s folder isn’t listed, click ‘Add path’, navigate to the Melodyne’s installation folder, and hit ‘OK’.
Scanning for New Plugins:
- Click ‘Find more plugins’. FL Studio scans your designated folders for new VST plugins. Melodyne will be detected during this process.
Part 4: Using Melodyne in FL Studio
Now that you know How to Install Melodyne in FL Studio , it’s time to put it to work. You have to put the plugin in to a mixer channel and after dumping the vocals into the plugin you can start working on your vocal pitch, time and more
Loading Melodyne in FL Studio:
- Navigate to the mixer by pressing ‘F9’ or clicking on the mixer icon within FL Studio.
- Select the track where you wish to apply Melodyne by clicking on it.
- Locate one of the available ‘slot’ buttons in the track’s effects rack and click on it to reveal the plugin selection menu.
- Scroll through or search for ‘Melodyne’ in the popup menu, select it, and it will load onto the chosen track.
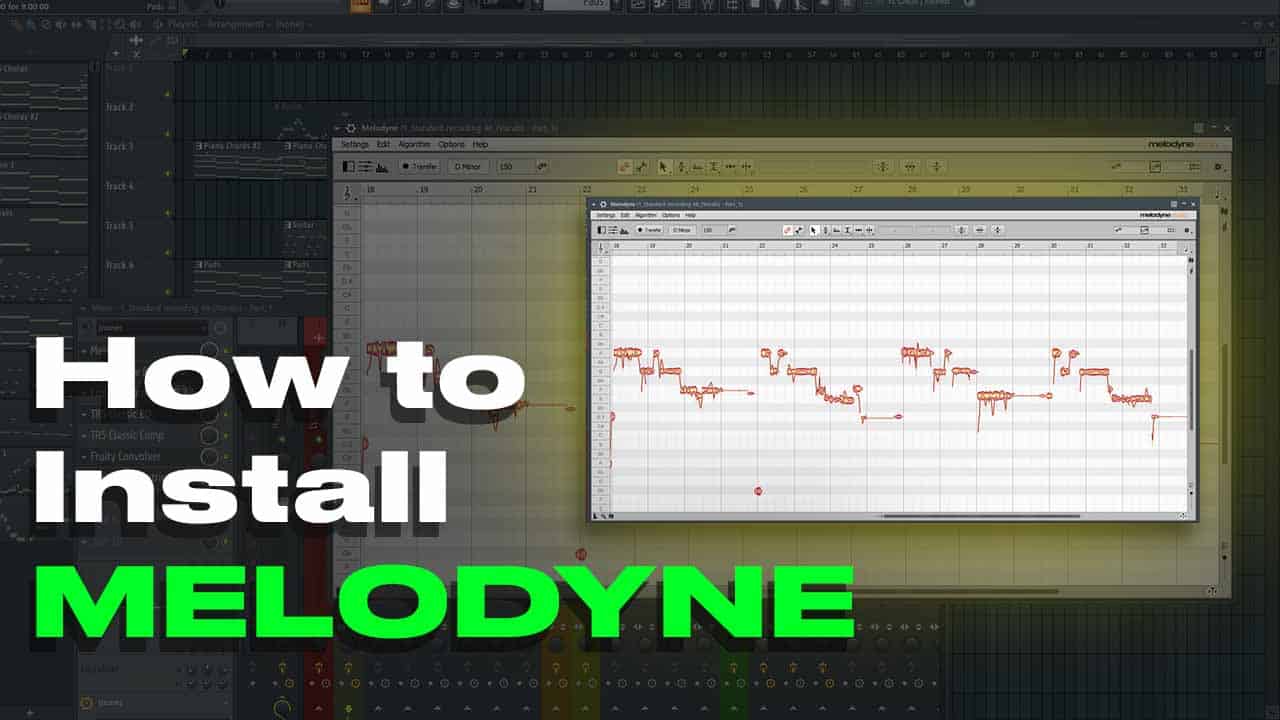
Play a section of your audio track and open Melodyne on that channel. it will automatically start analyzing the audio, presenting you with a visual representation of the pitch of each note. From here, you can start tweaking to perfection.
Part 5: Adaptive Learning for Melodyne Newbies
You need to learn music theory and train your ear to get the best pitch correction for your vocals. Softwares like melodyne plays a vital role in this situation to provide advanced visual features that a newbie can also use the software to its full potential.
Beginning with Pitch Correction:
- Begin with simple pitch corrections. Click and drag on the notes within Melodyne to adjust their pitch.
- Use the quantize function to align notes with the correct tempo and rhythm.
- Experiment with the timing and length of notes for more natural-sounding corrections.
As a new user, explore the Melodyne environment by experimenting with the functionality by yourself. Melodyne provides an additional library of tutorial content, ideal for individuals to improve their music production knowledge.
Part 6: Final Thoughts for FL Studio and Melodyne Integration
Congratulations, you are now ready to bring out the full potential of your musical knowledge as you know How to Install Melodyne in FL Studio. Always remember, the key to mastering any new software tool is to keep patience and do practice. Don’t hesitate to reach out to the online community of FL Studio and Melodyne users for tips and tricks.
Conclusion
Hope this article is enough to give you an overall overview of the powerful tool melodyne. I use melodyne in all of my projects because it has the potential and features that can help you to put your vocals to the next level. Melodyne is a powerful tool with a lot of features, do research and learn daily about the software by experimenting with new ideas. Also check out the forums of FL Studio to find new techniques about music production.